This article describes how to document your projects using different tools, post code to the website or how to add images even from your smart phone.
Table of Content
Basics
Writing Code
Adding Images
Using Mobile App
Basics
- Click “Add My Content” in the sidebar of most pages.
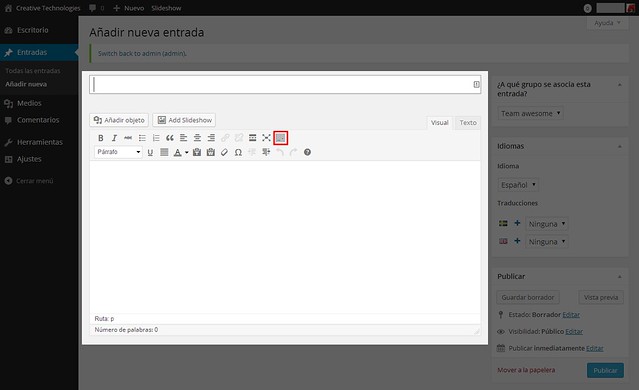
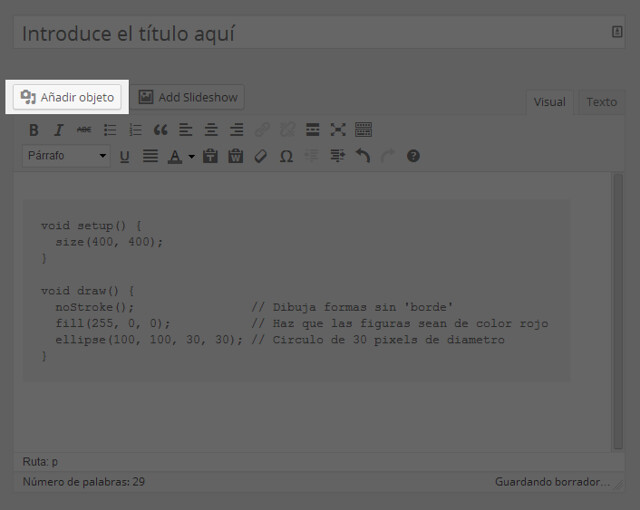
- Now you are in the post interface. Write your title and content in corresponding areas. The button marked here in red gives you more formatting options. Read Adding Images and Writing Code about how to do so.
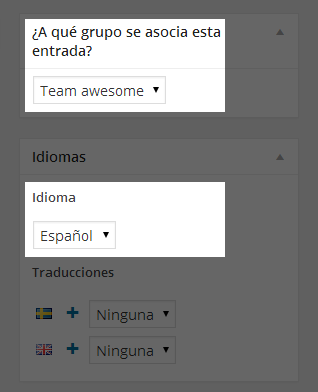
- Make sure you choose the right group association, which group are you doing this project with? See Work in Groups if you don’t know about groups. Also pick the right language you’re writing in.
- Add one and only one tag to your post. It should be exactly same as title of the project you’re documenting, but in lower case. For example, if you’re writing about project Red Snake, the tag should be “red snake”.
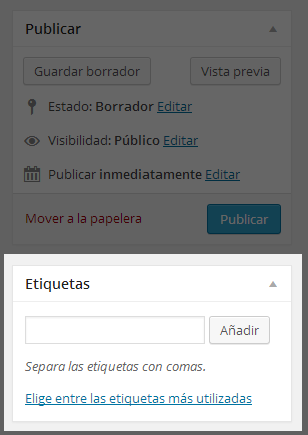
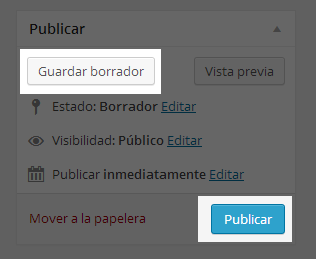
- You can click “Save Draft” button to save your progress, or “publish” to make it public.
Writing Code
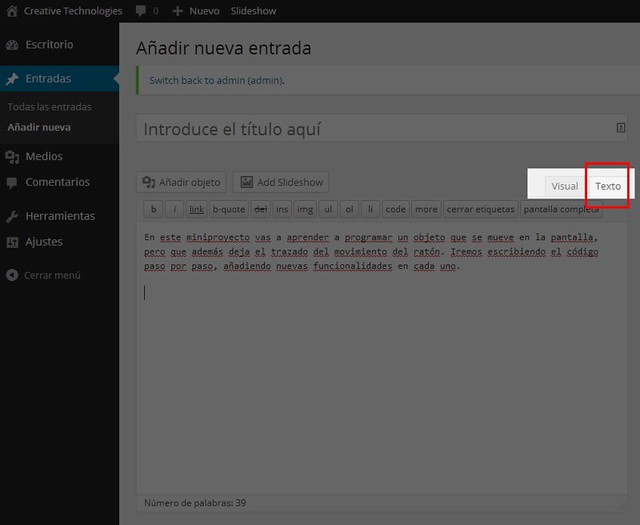
- To add code inside your post, select “Text” from Visual/Text tab.
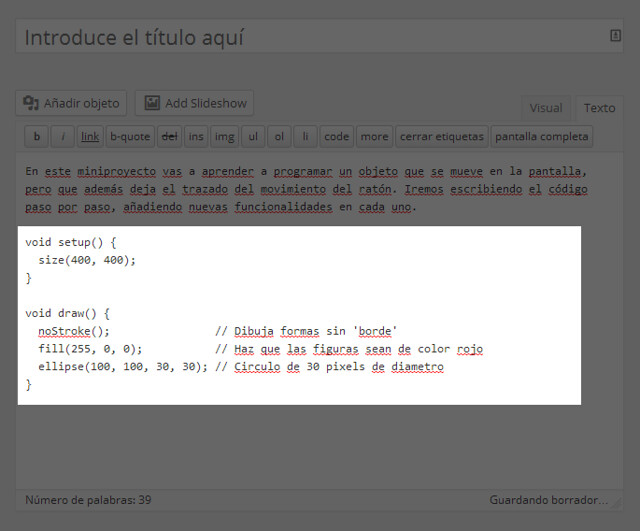
- Copy your code from Processing/Arduino IDE, and paste it in the desired place.
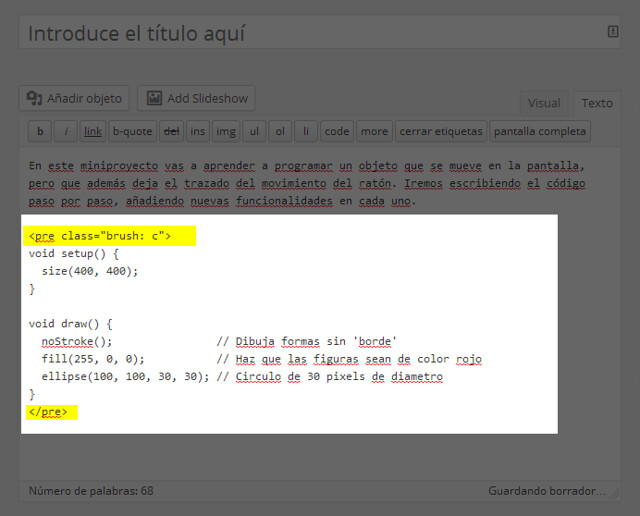
- Contain it in pre tag. Doing so by writting <pre class=”brush: c”> before the code, and </pre> after the code.
Note: Make sure you’re writing posts in the Visual tab! Otherwise the text format will be wrong.
Adding Images
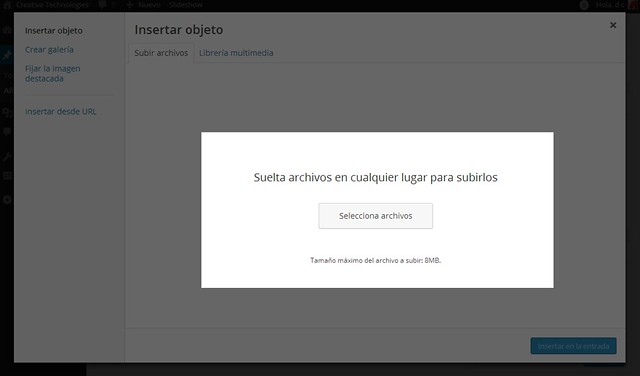
- In post interface, click “Add Media” button.
- Upload an image by either drag&drop it into the upload box, or click the button and select it from your local folder.
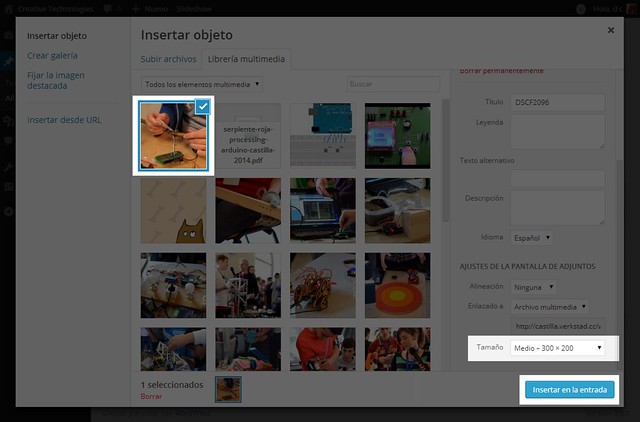
- When it’s done uploading, select the picture, pick a right size for it, and insert it into the post
Using Mobile App
If you have an Android/iPhone, you can take photos and upload them to the post directly, it makes documentation whole lot easier!
- Go to Google Play or App Store, install the WordPress app.
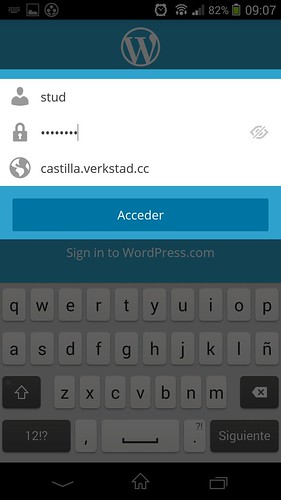
- Start the app, tap “Add self-hosted sites” in the login screen.
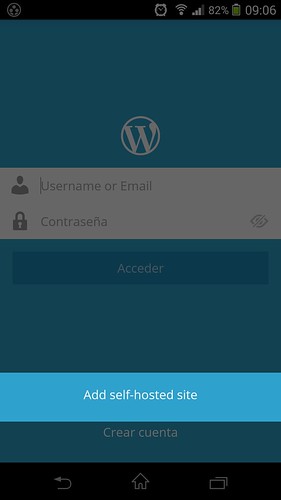
- Input your username, password as well as “castilla.verkstad.cc” to the login box. Login to the site.
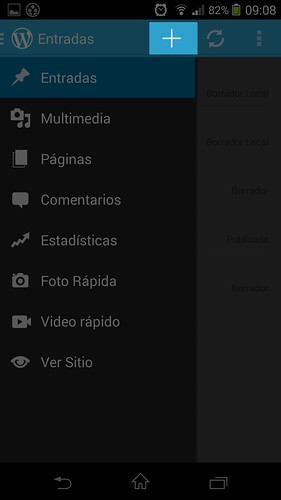
- Tap the “+” sign to add a new post.
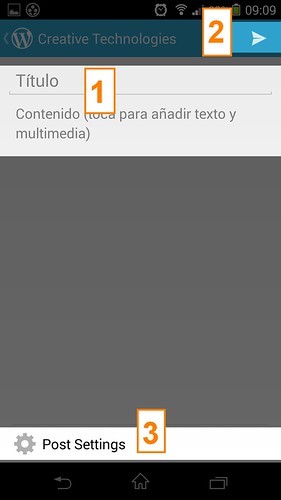
- This is the main post screen. You (1)can add title and content, or (2)tap the publish icon to save/publish it, or (3)change post settings. Tap (1) first.
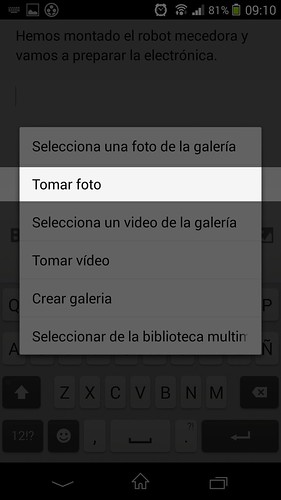
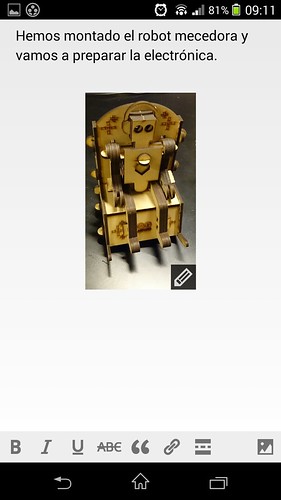
- Add content here. Tap the pictures icon to add pictures.

- Tap “take a photo” option. This will direct you to the phone camera, take a photo of your on-going project with it.
- The photo is added to your post. You can repeat the process to add multiple photos with your phone camera.
- When you’re done, go back to the main post screen and tap post settings. In the post settings screen, change publishing method to draft.
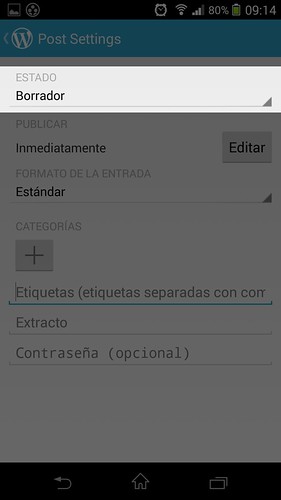
- Go back to the main post screen, and save your draft. You can continue working on it in a computer.