In this mini project, you will delve a bit deeper into programming. You will create a small game where our valiant hero, the famous scientist Isaac Newton, tries to get the apple to fall on his head. The aim is for Newton to collect points by getting bumped on the head by as many apples as possible in half a minute. Again, we’ll go step-by-step as we explain.
-
Create an apple and a scientist
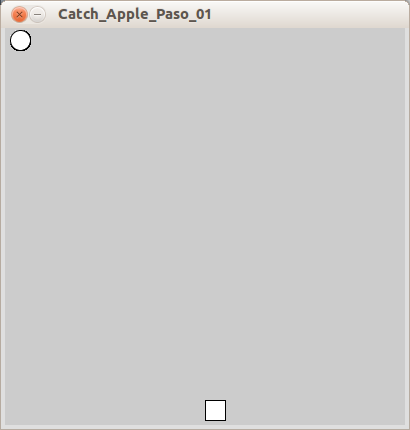
Create a game screen. For now, apples will be represented by circles which fall from the sky. Newton will be represented by a square at the bottom of the screen.
New commands:
rect(x, y, width, height): Draws a rectangle.xandysets the location of the upper left corner,widthandheightsets the size.
Newton (the square) is stationary so we need to implement controls to move him.
-
Take control of Newton with the keyboard
Make Newton move with the arrow keys. To access the keyboard from Processing, we must use a
keyCodewhich is used to identify individual keys. ThekeyCodeis an internal system variable which can be used to detect which key has been pressed. To see what key was pressed we need a function calledkeyPressed(). We will also need a variable to store the squares X-axis (horizontal) coordinate so we can adjust it each time the key is pressed.New commands:
keyPressed(): this function is run every time a key is pressed. This means that whatever code you have written inside this function will be executed when you’ve pressed a key.keyCode: returns the value of the key you have pressed.
The variable
nXis used to set the x position of Newton. Every time the right arrow key is pressed,nXincreases by 3 units and every time the left arrow key is pressednXdecreases with 3 units. So now you can move the square around the screen from left to right, but be careful because the square can move off the game screen.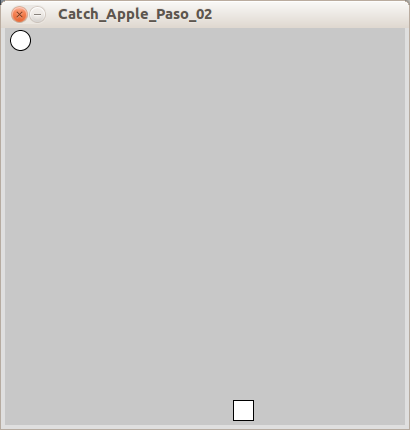
-
Limit the movement of the square
So that Newton doesn’t fall of the screen, we need to limit his movement to within boundaries of the window. For this, you will use the conditional function if-else to limit the X-coordinate to always stay within the program window, i.e., it must be greater than 0 but less than the width of the window or
width.In the above program, the only difference is that the square will no longer be able to move off the screen.
-
Falling Apples
Modify the program to make the apple (circle) fall from the top of the screen. For this, you need a variable to hold the Y-coordinate of the circle. Once the apple hits the ground, it will disappear and another will appear at the top.
We created the variable
mYto store the Y-coordinate of the apple. Each timedraw()runsmYincreases by 1. The apple is redrawn closer and closer to the bottom of the window. Once the apple reaches the bottom of the screen, that is ifmYis more thanheight, it should magically reappear at the top of the window.
-
A little random
The apples always fall from the same position at the top of the screen, so it is quite predictable. Changing the X-coordinate of the apple changes its source. There is a function called
random()that we can use to generate random numbers. You will need a new variable to store the X-coordinates of the apple. Note that the X-coordinate will be changed only when the apple reaches the ground – otherwise, the apple would shift during its fall.New commands:
random(high): generates a random number between 0 and the numberhigh. You can also userandom(low, high)to get a random number betweenlowandhigh.
With this change in the program, you will see that apples come from random points on at the top of the screen.

-
Collision Detection
Detect when the apple lands on Newton’s head to count the points. Detecting when two objects collide on the screen is called collision detection. It employs the conditional if-else to see if the circle is on the square. If true, both objects will become red. To make the program easier, we will create a variable to store the square’s Y- coordinate so we can make comparisons easier.
New commands:
if( test1 && test2){ statements }: this is used when several tests are made in oneif()statement.&&means that both statements must be true – iftest1andtest2are true, then the code inside the curly brackets is executed.
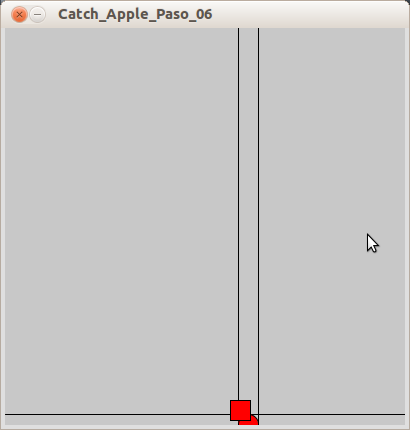
The collision detection consists of two
if()statements; the first checks if the circle is at the same height as the square. If it is, the secondif()statement is executed. That one checks if circle is on top of the square. If it is thefill()color is set to red. A collision would look similar to the image below: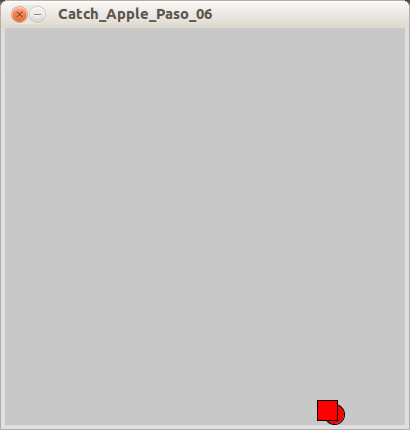
In addition, if you enable the following lines in the program:
// lines of code to understand how collision works
// erase the comment in order to see the code
line(0,mY-10,width,mY-10);
line(mX-10,0,mX-10,height);
line(0,mY+10,width,mY+10);
line(mX+10,0,mX+10,height);
You will see a series of lines on the screen framing the movement of the objects. You can use this to better test and visualize the collision.
-
Faster
Do you want to make the apples fall faster? To do this, we will make a
floatvariablemVwhich stores the fall speed of the apple. You can change the speed by changing the value ofmV.To better control the movement in the Y-axis of the apple, we will change the variable type of
mYfrominttofloat. A variable with of the data typefloatcan store decimal numbers.Instead of increasing
mYby 1, we increase it withmV. Aside from changing the speed, nothing else has changed in the program. -
Newton likes gravity, so give him more
Modify the program so that the apples accelerate due to gravity. The apples will go faster and faster the further they fall. As you know, the speed is calculated using acceleration and distance travelled. To make these operations as simple as possible, we will use a
floatvariable that holds the rate of acceleration.mAincreasesmVa little each time, which increasesmY. Thus, the velocity will increased a little more each time. Aside from the acceleration, nothing has changed in the program. -
Count the points
We will use a function called
text()to display the points. We will also need a variable to keep score.Note: As you start having a lot of variables in your program, it is recommended that you add comments to remind you of their purposeNew commands:
text( text, x, y): draws a text on the screen on the coordinatesxandy.
We’ve declared a new variable
pthat increases by 1 each time a collision is detected. Next we display the point counter in the upper right corner.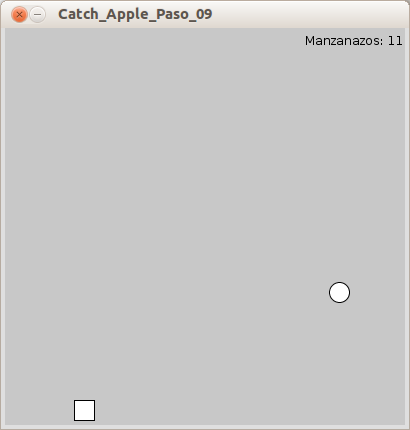
-
Oops, Error
You may have noticed that your program is posting incorrect points. Each time the apple falling on Newton’s head … eh … when the circle touches the square, your counter goes up about 5 points. This is because the counter keeps on counting as long as the apple overlaps Newton. To correct this you have a couple of options:
- Make the apple relaunch once collision is detected.
- Stop counting when the initial collision is detected and restart counting when a new apple is released.
To try any of these options, you need a variable of type
booleanto store the apple’s state. Remember what abooleanis? It’s a variable that can either betrueorfalse. Using it, we can tell the program whether or not to count points.New commands:
if( boolean ): checks if abooleanvariable istrue. You can also check if it’sfalseby writingif( !boolean ).!means “not”.
Now the program will only add a single point per apple. This is because we only add a point when the
booleanvariablepCountistrue. It’s set tofalseright after the point is added. When the apple is relaunchedpCountis again set totrue. -
And time begins
The objective is to get as many apples as possible within a limited span of time. We need a timer that is also displayed on the screen so that players know when the game will be over. The optimal duration of the game is half a minute. Too short will make the game too difficult and too long, will make it lose its challenge. To measure time, we will use a function called
millis()which counts the milliseconds that have passed since starting the program. You can use this function to inform the player that there are 30000 milliseconds (30 seconds) until the game ends. To do this we need a new variable of type,long. The functionnoLoop()will tell our program to end once time has run out. Finally, we usetext()to display the time left on the screen.New commands:
long: this is a datatype for large integers. It’s convenient to use this when handling time variables because that data can be very large. Do you remember how we explained that a variable is a container of data? Well, you could say thatlongis a larger container thanint. Anintruns out of space faster than along.noLoop(): stops the continuous execution of the code insidedraw. To resume the program you would need to callloop().
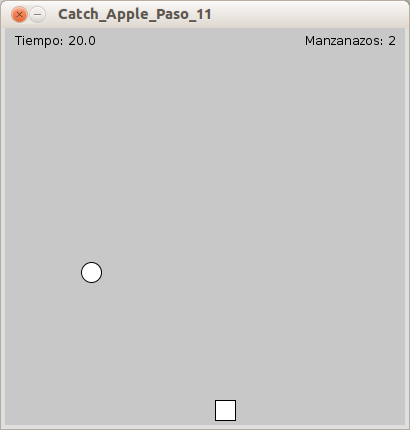
The time variable
tis initialized insetup()to mark the start time. After we’ve drawn Newton and the apple, we create a new variable calledtimerto calculate how much time has passed. This is done with(millis()-t) / 1000; current time minus the start time and then divided by 1000 to equal seconds.If
timeris more than 30, we callnoLoop()to stop the program. As long astimerisn’t more than 30 seconds, usetext()to display how much time there is left.The game timer will look as follows:
-
Add Images to our game
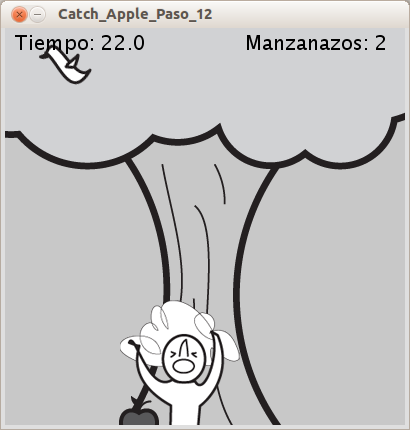
Include images for the apple, Newton, and the background. You can create your own images, look online, or use the ones provided . PNGs allow transparency between the image and the drawing, so it is important to use that format for a better looking game. Please note that if your images have different proportions from the ones provided, you’ll have to correct the values in the part of the program dedicated to collision detection.
To load our images, we use the same method as in the previous project using to arrays. Instead of changing the color to red when there is a collision, use the boolean
pCountto change out the image of Newton.The end result of the game looks as follows:
Experiment further
To improve this game there are a number of things you can do:
- Make custom images of your own.
- Create an opening game screen that will load the game once a button is pressed.
- Create a ending screen showing the results once time has expired.
- Make it possible to restart the game after the time has run out – don’t forget to reset all variables that are needed.
- Use scientific superpowers to make it move by changing the acceleration instead of speed.