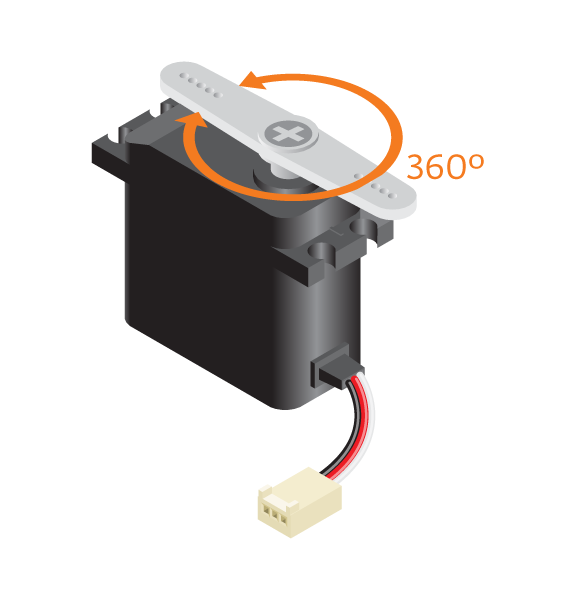
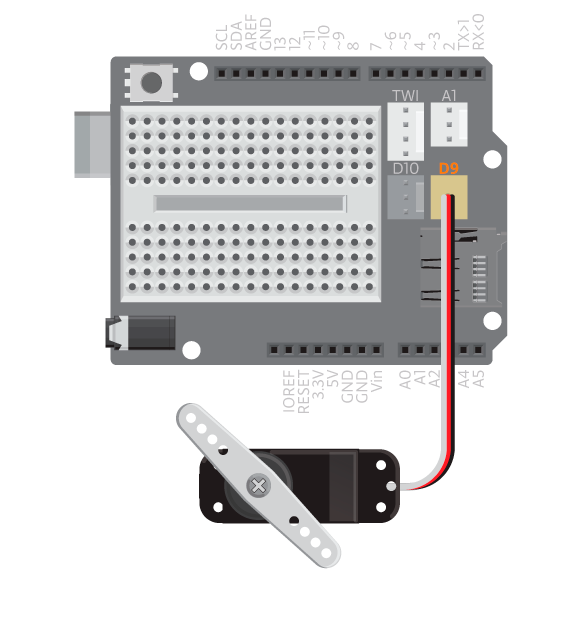
Now lets try out the continuous rotation servo. Connect the motor to digital port D9. You control the continuous rotation servo by writing a speed to it instead of a position. Why don’t you see what happens when you upload the same code as in the previous example.
Materials
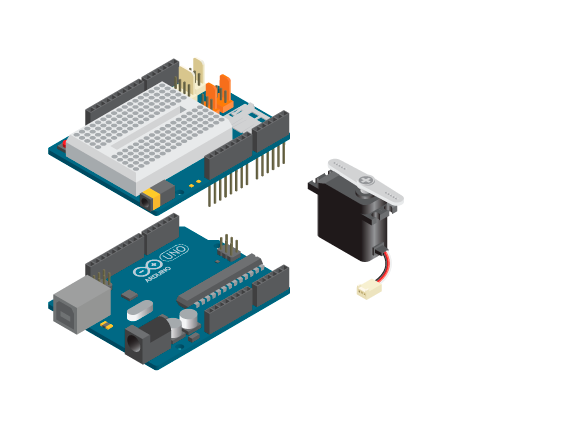
- 1 placa Arduino Uno
- 1 shield Básica Educativa
- 1 servo continuo
Instructions
- Connect the servo to digital port 9.
Open Files -> Examples -> BasicEducationShield -> Help -> ContinuousServo in the Arduino IDE.
#include <Servo.h>

Servo myservo;

void setup() {
myservo.attach(9);
}

void loop() {
myservo.write(0);
delay(1000);
myservo.write(180);
delay(1000);
}
The program above is the exact same program as we used to control the standard rotation servo. As you can see, the continuous rotation servo acts differently. This is because you control its speed instead of its angle of rotation.
myservo.write(speed): tells the servo at what speed to turn. The value can still be from 0 to 180 where 0 is full speed in one direction and 180 full speed in the opposite direction.
So what this program does is to turn the servo in one direction at full speed for 1 second and then the opposite direction for 1 second.
Experiment Further
- You should now see what happens when you change the values inside the write function. What value makes the servo stop rotating?