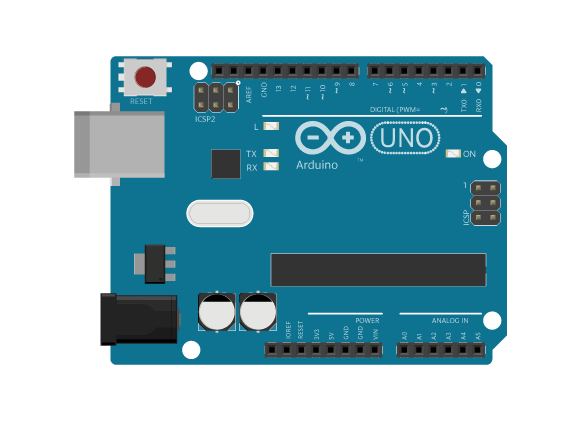
Arduino boards are small computers that can read information from a variety of sensors as well as control lights, motors and other electronic components. There are computers in microwaves, inside elevators, and onboard cars which have as many as 70 small Arduino-like computers inside. There are computers practically all around us nowadays. Similar to the Arduino board, many of these computers do not have a keyboard or a screen.
Since Arduino doesn’t have a screen or a keyboard, you will need to use a different computer to write programs for your Arduino board. That software you will use is called the Arduino IDE. IDE stands for Integrated Development Environment, and is a common term to name such kinds of development software. You write your program in the IDE, upload it to the Arduino board, and the program will be executed on the board.
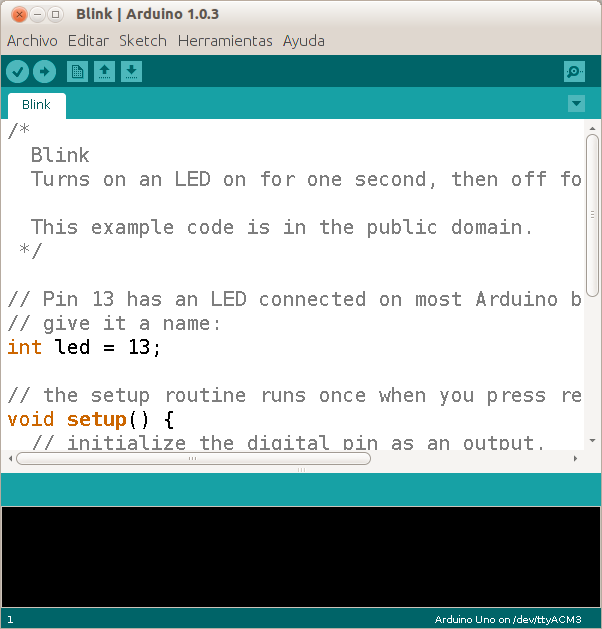
The Arduino IDE is very similar to Processing. There is a simple toolbar that you can use to:
 check whether your program will work
 upload the program to the Arduino board
 create a new program
 open a program
 store the program in the computer’s hard drive
 (all the way to the right) open a communication window to the Arduino board
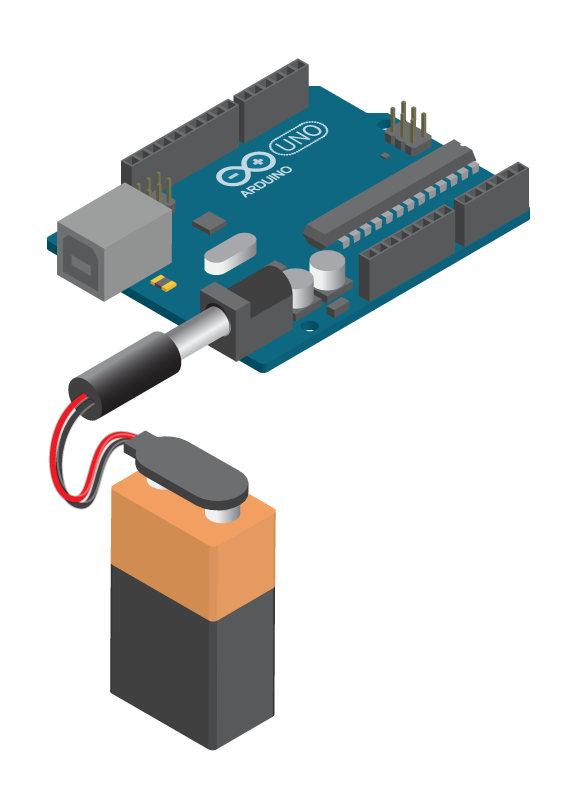
Arduino boards connect to your computer using a USB cable. It must be connected in order to upload a program. Note that while the USB cable supplies power to the Arduino board, you could also power it by using an external power source like a battery or a power supply.
When programming the Arduino board, you should make sure the IDE is configured correctly. First, check the ‘Tools → Boards’ menu to see if the chosen board is ‘Arduino Uno’.
Now you must choose the correct serial port. Go to ‘Tools → Serial Port’ menu and follow this procedure:
- Disconnect the Arduino board from your computer.
- Check ‘Tools → Serial Port’ and see what is available. The port you want will not be there.
- Reconnect the Arduino board to your computer.
- Check ‘Tools → Serial Port’ again and you should see a new port appear. That is your Arduino.
- Select that new port.