Similar to how you write ’0′ or ’1′ to a pin on Arduino, you can read a value generated by a sensor attached to it. When working with digital pins, we will use digital sensors that can only be ON or OFF.
A simple jumper wire is a really good example of a digital input. Connect a jumper wire to a digital pin, e.g. pin 5. Then, switch it ON/HIGH or OFF/LOW by connecting the other end to either 5V or GND of your Arduino board.
Let’s try this out! Take one of the jumper wires from your kit, connect it to pin 5 and upload the following code to your Arduino:
int ledPin = 13;
int inputPin = 5;

void setup() {
   pinMode(inputPin, INPUT);
   pinMode(ledPin, OUTPUT);
}

void loop() {
   if (digitalRead(inputPin) == HIGH) {
      digitalWrite(ledPin, HIGH);
   }
   else {
      digitalWrite(ledPin, LOW);
   }
}
This program introduces some new elements:
- We use multiple variables -
ledPinfor the LED’s pin andinputPinfor the wire’s pin. pinModecan be used to declare a pin both as an OUTPUT as well as an INPUTdigitalRead(inputPin)reads the value of the voltage at theinputPinand will return whether that value isHIGHorLOW- in this case,HIGHwhen connected to 5V andLOWwhen connected to GND.- The conditional statement
ifto check the value at theinputPin - When you want to compare if two values are the same, you use a double-equal sign or
==. Using == tells the computer to compare the two values and return a TRUE or FALSE. This double-equal is what we call a comparison operator. Here are some other comparison operators: < (less than), > (greater than), <= (less than or equal), >= (greater than or equal), and != (not equal).
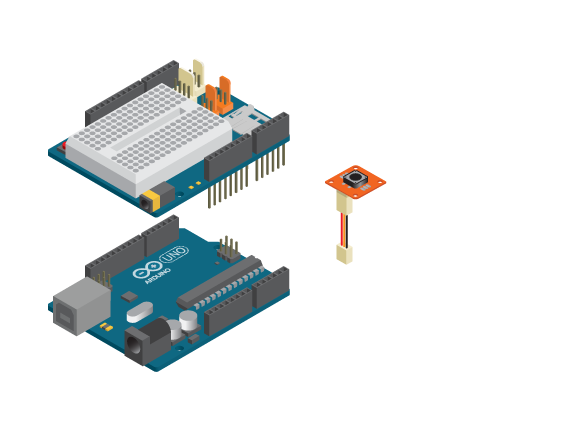
Button
Let’s try this out with a button instead. For this example you need to mount the Basic Education Shield on the Arduino and connect a tinkerKit button to the D9 connector with a tinkerKit wire.
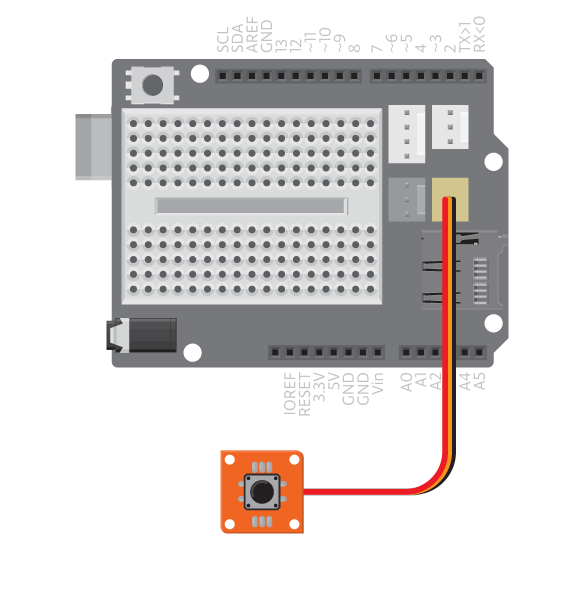
You can use the same code as in the earlier example but you need to change the inputPin value to 9. This is because the D9 connector is connected to digital pin 9.
Note: If you have connected anything to D9 you can’t use digital pin 9 to connect something else.
int inputPin = 9;
int ledPin = 13;

void setup() {
  pinMode(inputPin, INPUT);
  pinMode(ledPin, OUTPUT);
}

void loop() {
  if (digitalRead(inputPin) == HIGH) {
    digitalWrite(ledPin, HIGH);
  }
  else {
    digitalWrite(ledPin, LOW);
  }
}
Experiment Further
- Change the program so that the LED turns off when the button is pressed.
- Write a program that plays a sound when you push a button.