Instructions
For sending a message to the computer, you’ll need 3 different commands: Serial.begin(), Serial.println() or Serial.print().
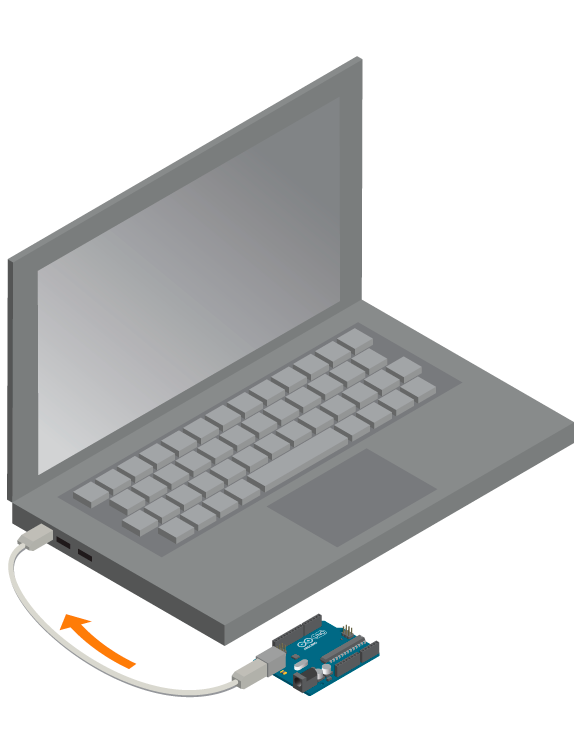
Upload the code below and click Tools->Serial Monitor on Arduino IDE.
void setup() {
Serial.begin(9600);
}

void loop() {
Serial.println(“Hola Caracola”);
delay(1000);
}
You’ll see a small window with the words “Hola Caracola” showing up once a second. This window shows everything sent to your computer through the Arduino serial port.

The commands used above:
Serial.begin(speed): Initializes the serial communication. Speed is how fast the messages are transferred. It’s important that the sender (in this case the Arduino board) and receiver (in this case the serial monitor) are communicating in the same speed. Otherwise it will be like two people trying to communicate, one talking in chinese and the other one in spanish. For now, use 9600. This is the most common speed when working with Arduino and Processing.Serial.println(message): Prints a message and line break in the serial monitor via the serial port. Each time you callprintln(), the next message will start from a new line.Messageis a string, replace it with the text you want to send.- You can also use
Serial.print(message): Prints a message in the serial monitor – does not include a line break . Each time you callprint(), the next message will start directly after the last one, with no line break.Messageis a string, replace it with the text you want to send.
Printing LDR values
The most important thing you will need serial communication for is troubleshooting your programs. You see, more than sending static text over the serial port you can send values that changes over time. This comes in handy when for example you want to use an analog sensor but don’t know exactly what values it will read.
Do you remember the previous example where we used a potentiometer to calibrate our LDR program? Now we are going to show you how you can use serial communication to do that instead.
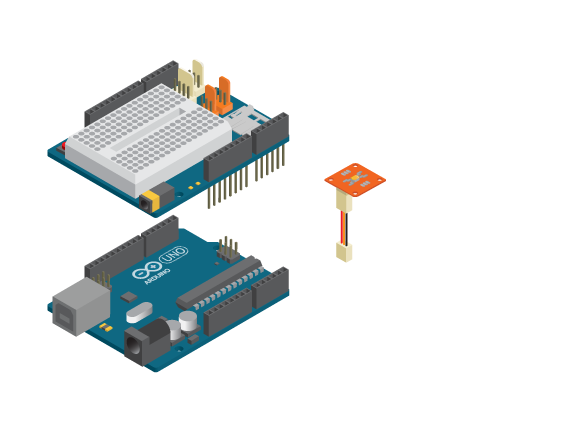
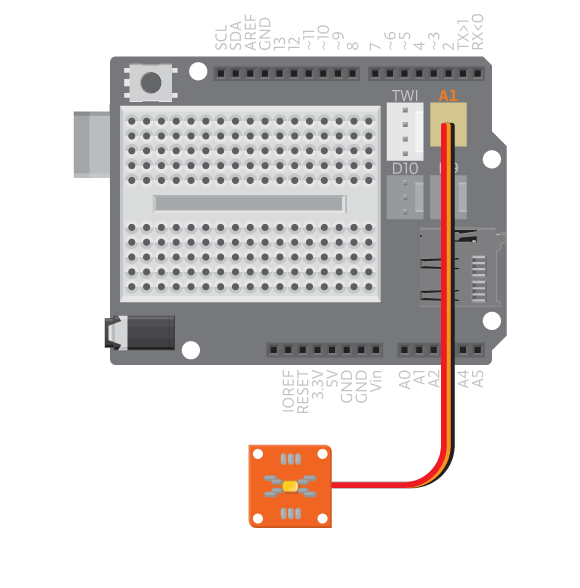
In this example we will read the analog value from an LDR and print that value to the serial monitor. Connect a TinkerKit LDR to the A1 three pin connector. Upload the following code and open the serial monitor.
void setup() {
Serial.begin(9600);
}

void loop() {
int sensorValue = analogRead(A1);
Serial.println(sensorValue);
delay(100);
}
No new commands are introduced here. We read the analog value from the LDR connected to A1 and print that value to the serial monitor. The delay() is there just to make it easier for us to read the data. When you have a good idea about what values you get you know what value to use as a threshold.