When doing projects, it’s important to work with your classmates in groups, also is it important to create the groups online! When writing projects logs(posts), you need to associate them with the groups you’re working in, that makes it much easier for you and others to check them out later.
Create a Group
Note: Only one student in every “real” group needs to create an online group. Or if you’re a teacher, you can create groups for all your students so they don’t have to do so.
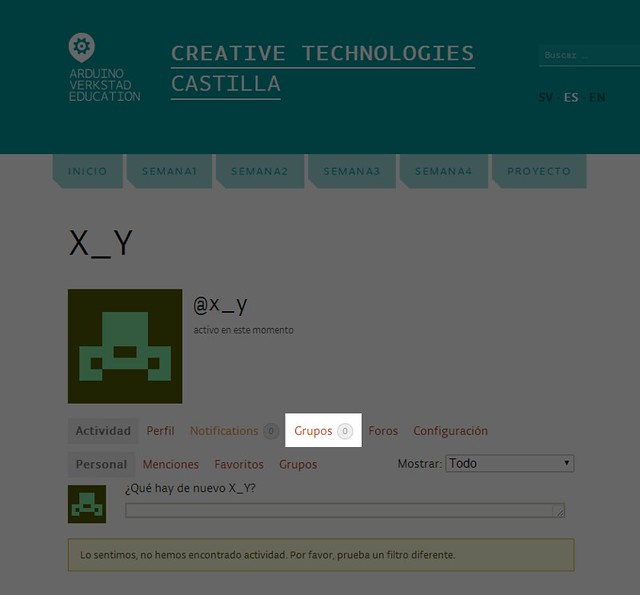
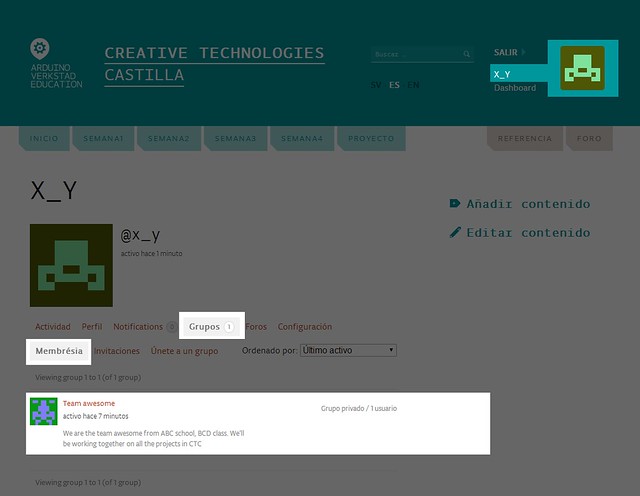
- Click on your user name, or avatar to enter profile page

- Click on “groups” link
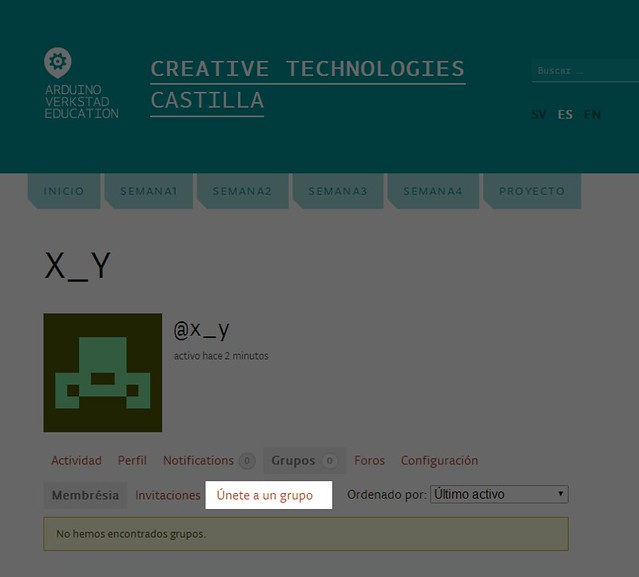
- Ckick on “join a group” link
- Click on “Create a group” link
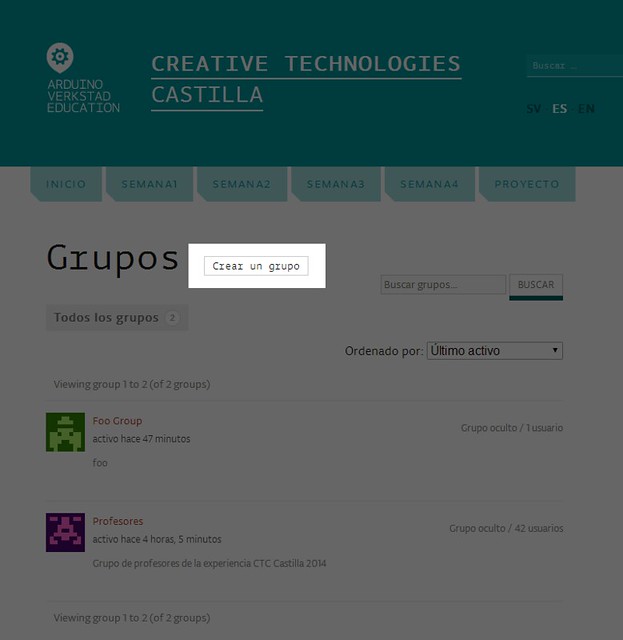
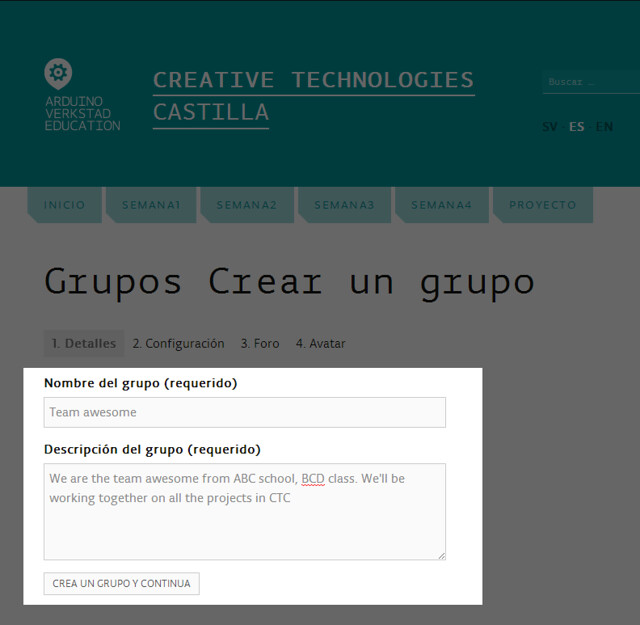
- Input a group name and description. Choose a distinctive group name. Make sure to add details about your school and class information so it’s easier to search for it.
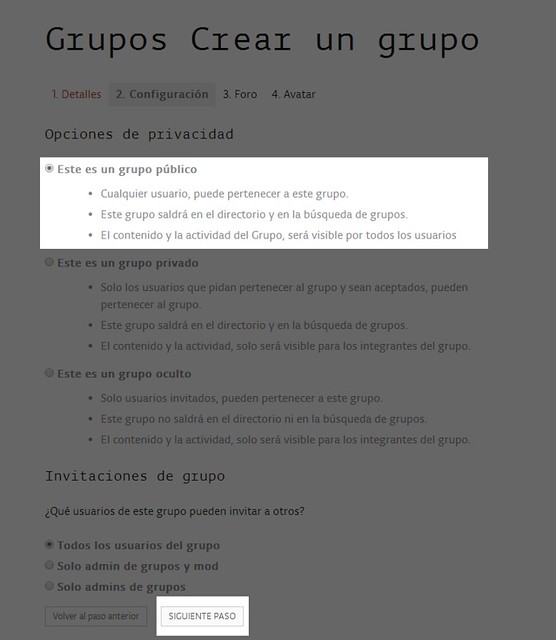
- Make it into a public group.
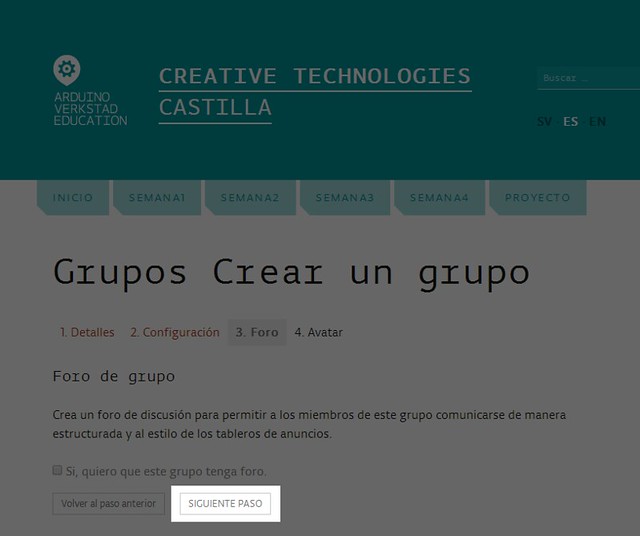
- There’s no need of group forum, just click next.
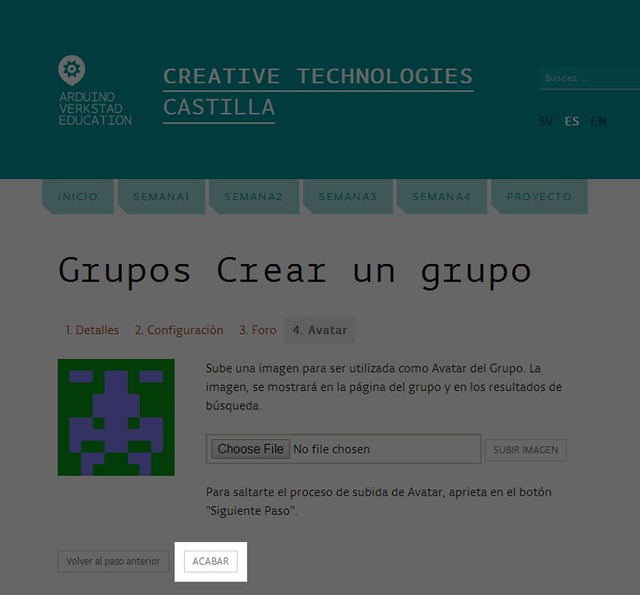
- Click complete and you have got a new group!
Join a Group
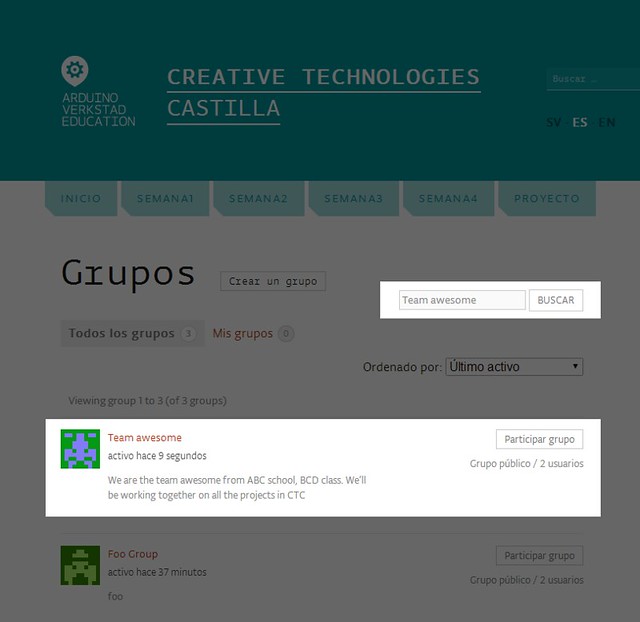
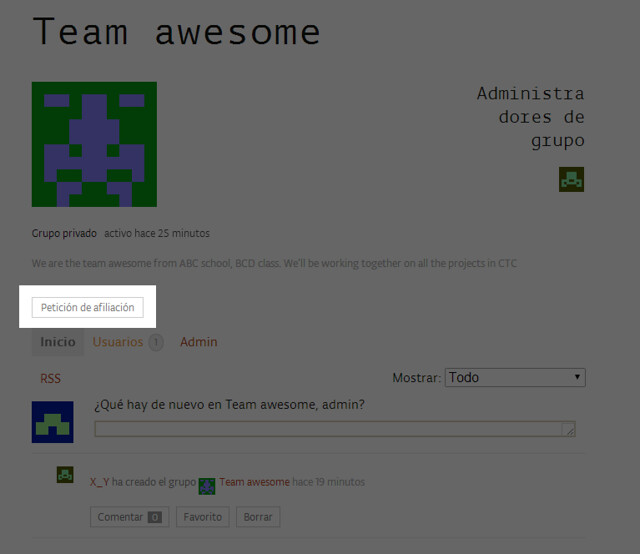
- Ask the one who created the group to go to his profile page, find the group you want to join.
- Copy the link to this group, and have it sent to you.
- Click “Join group” button on the group homepage. Note the button is not visible to group members.
- Alternatively, you can follow step 1 to 3 in “Create a Group” above to reach the groups page, and use search to find the group you want to join.