This small robot can crawl. It’s all it can do, and it isn’t very good at it. But it is super cute and great fun.
Materials
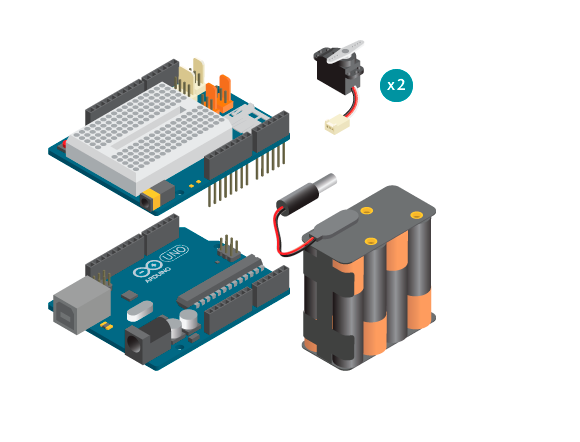

- 1 Arduino Uno board
- 1 Basic Education shield
- 2 standard servo motors
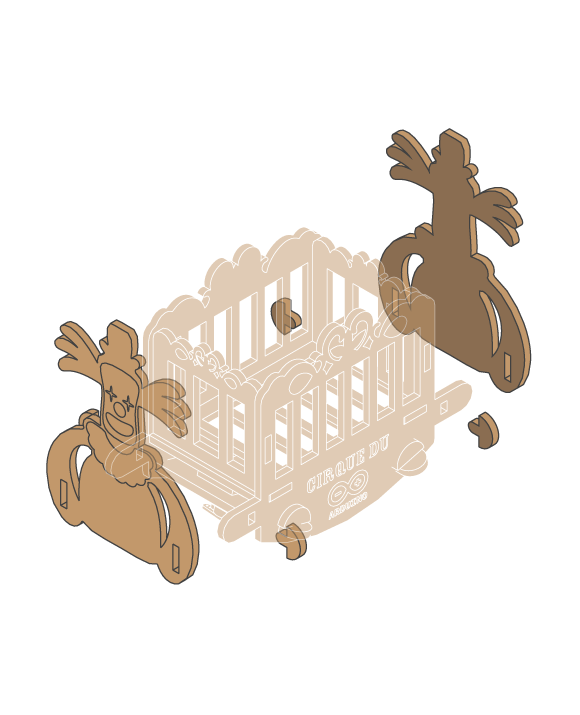
- 1 Crawling robot kit
- 8 AA batteries
- 1 battery holder
- 1 power connector
Instructions
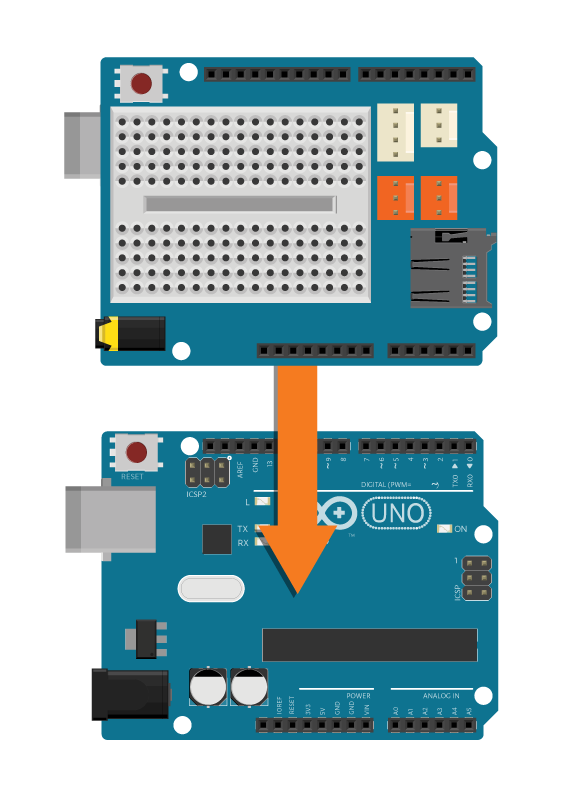
- Attach the shield onto the top of the Arduino board
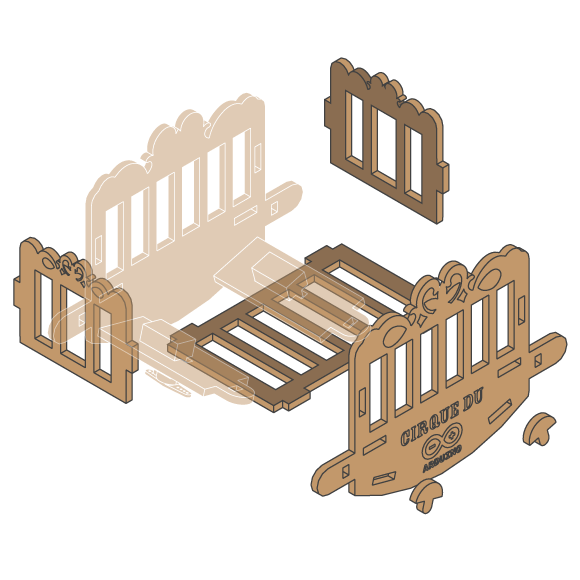
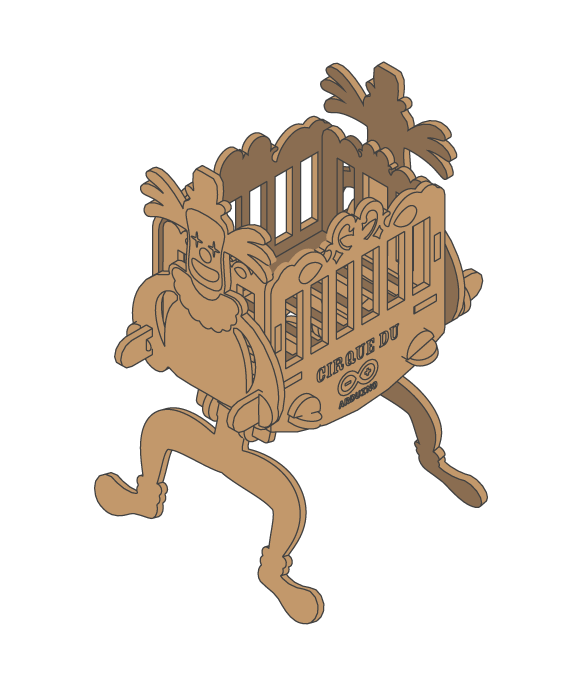
- Mount the crawling robot
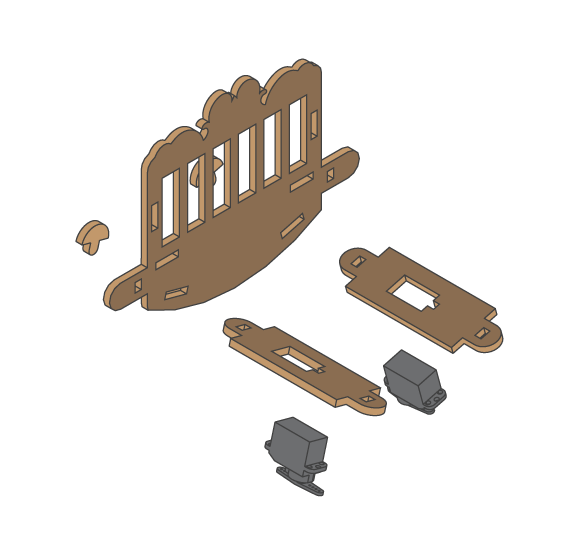
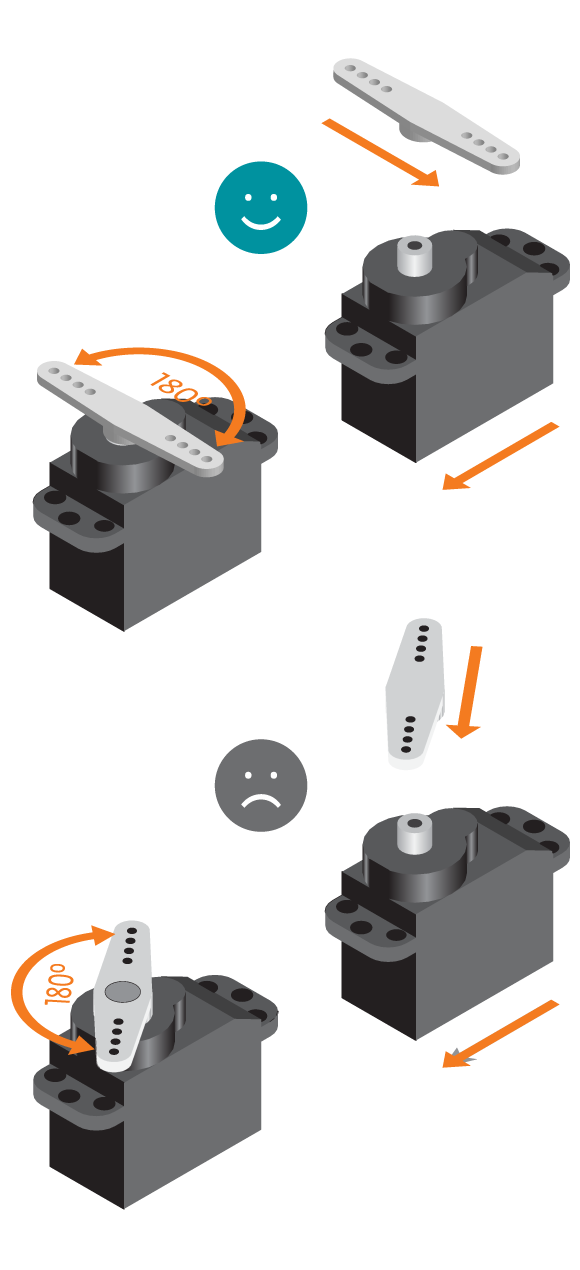
- Turn the servo by hand until it reaches the end. Then separate and place the servo arm in the same direction of the length of the servo. Do this on both servos, front and rear.
- Mount each motor in its hole and attach the clown legs to the servo axes.
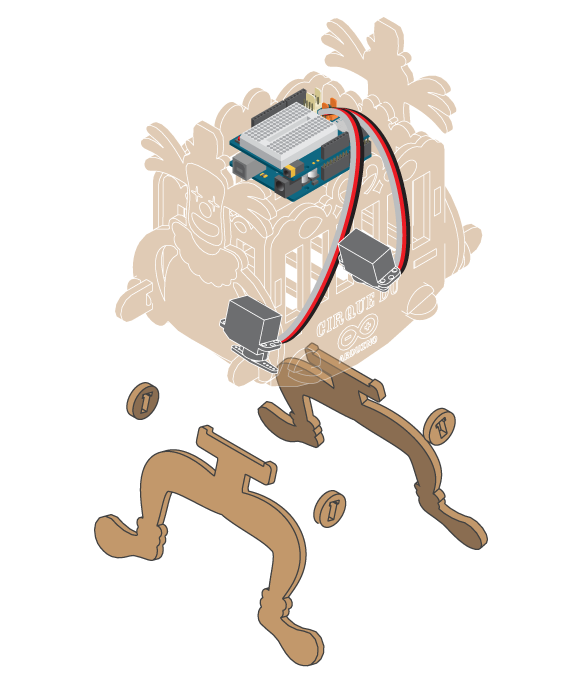
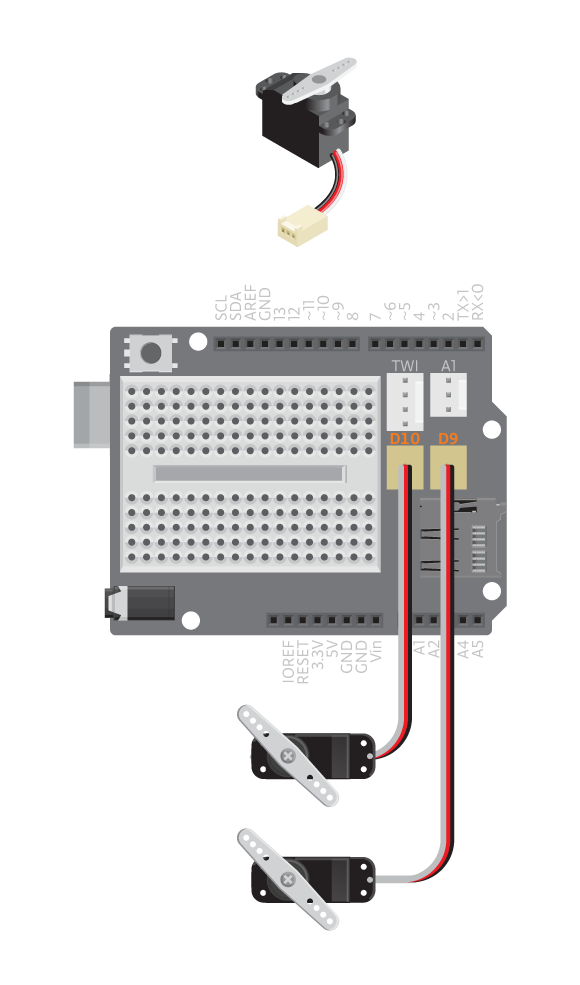
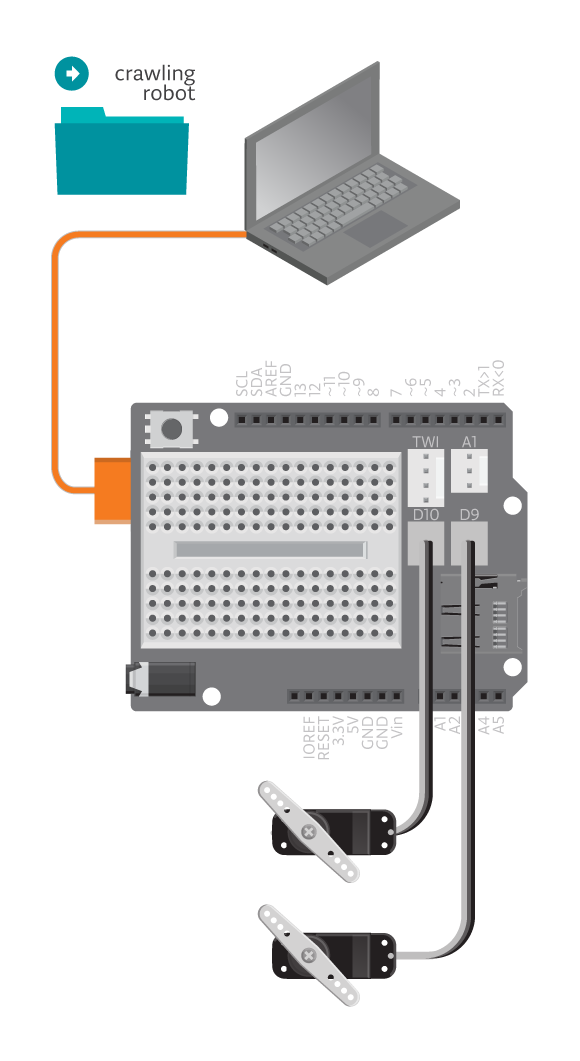
- Connect a servo to D9. Connect an additional servo to D10.
-
Upload example “CrawlingRobot ”
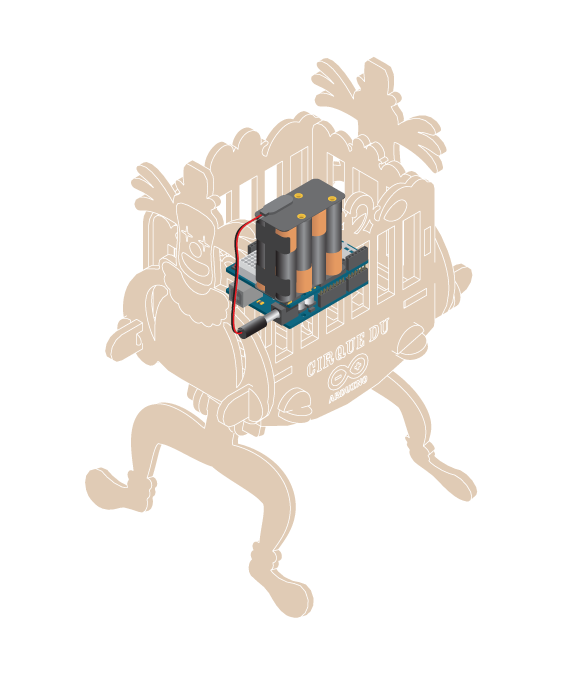
- Disconnect your Arduino from the computer and place it in the body of the crawling robot.
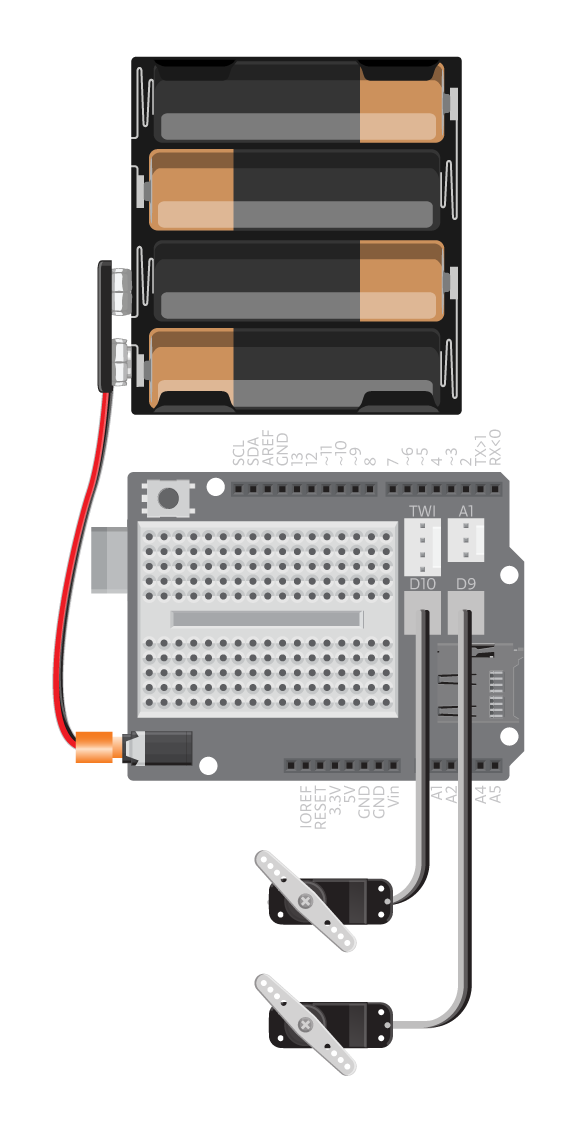
- Place the batteries in the battery holder and connect it to the Arduino power jack.
-
Code
You cand find the code at: File -> Examples -> Castilla -> Robots -> CrawlingRobot
How it works
The front servo’s rotation angle is set to 120 degrees. After a pause of 200 milliseconds, the back servo’s rotation angle is to 60 degrees. This is the opposite angle to the front. This is repeated in reverse after another 200 milliseconds.
Troubleshooting
- Are the servos not working? Does it work when the Arduino is plugged into the computer instead of the battery? If it is, try changing the battery.
- Still not working? Make sure you have connected the servos the properly. See the standard servo referencefor debugging.
Experiment further
- Do you want the robot to take bigger or smaller steps? Try changing the angles.
- Do you want the robot to crawl faster or slower? Try changing the delay time.
- See in how many different ways you can make the robot crawl and which one is the most effective.