Follow these instructions to install the Android mode in Processing.
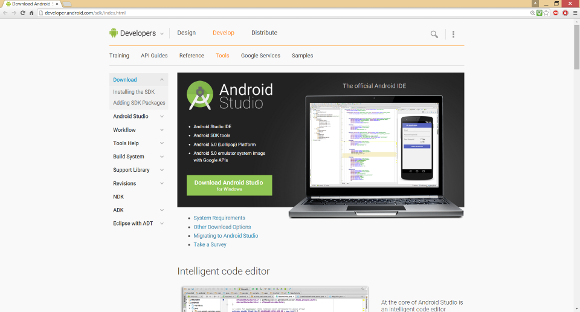
- First, you need to download the Android SDK (Software Development Kit). Go to http://developer.android.com/sdk/index.html
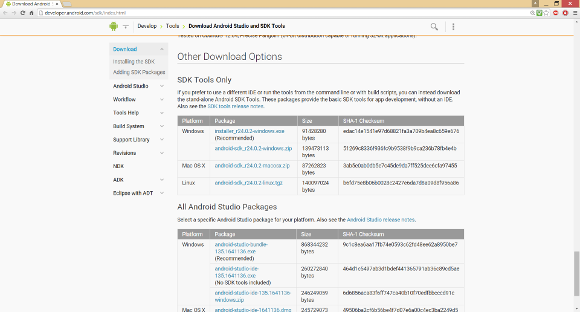
- Scroll down to “SDK Tools Only”. To download, click on the version for your operating system. (The following instructions are for windows, but the installation for Mac OS X or Linux are similar.)
- Mark “I have read and agreed with the above terms and conditions” and click “Download … “.
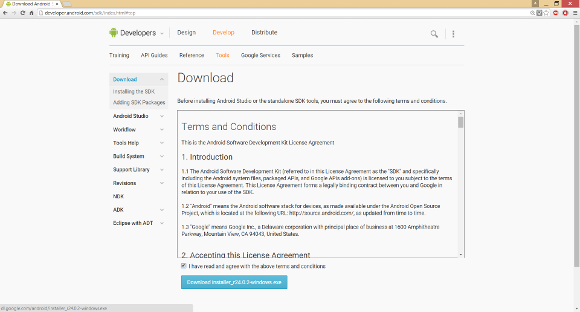
- When the download has finished, open the downloaded file.
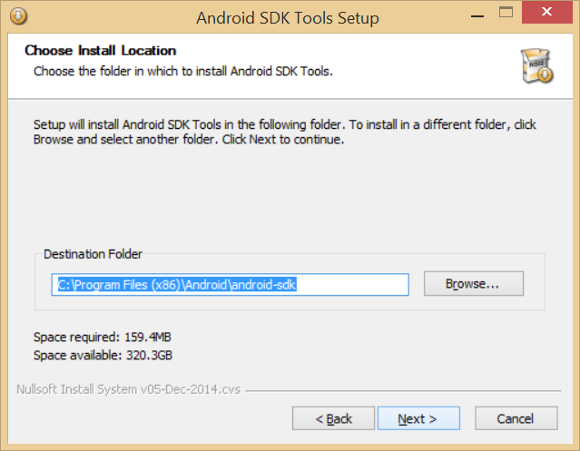
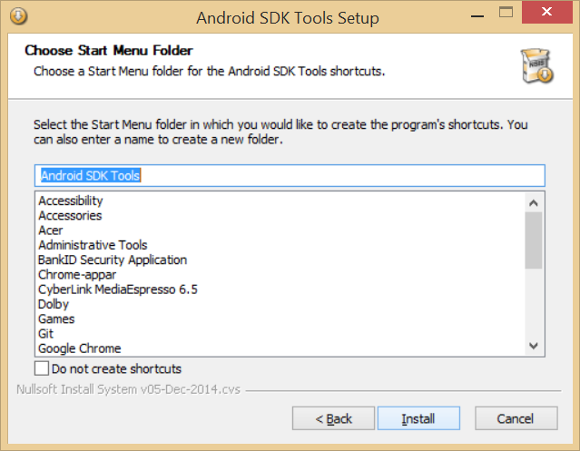
- Click “Next” until you reach the screen where you choose the install location. Remember which folder you choose! The first time you start Processing in Android Mode you will need to state where the SDK Tool kit is installed. Click “next”.
- Click “Install”.
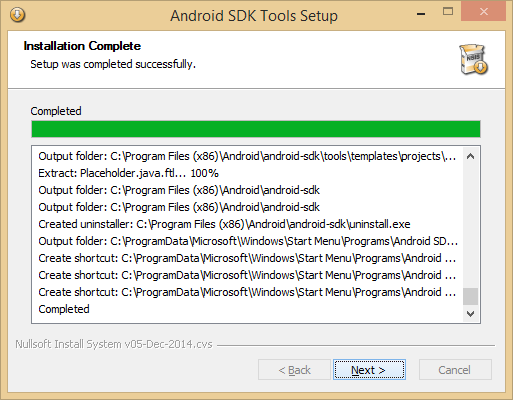
- Click “next” again.
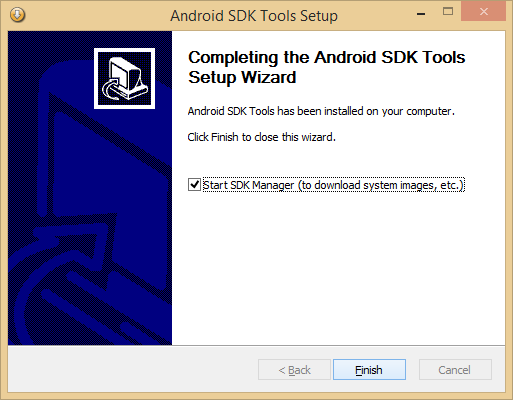
- Click “finish” and the Android SDK Manager will open.
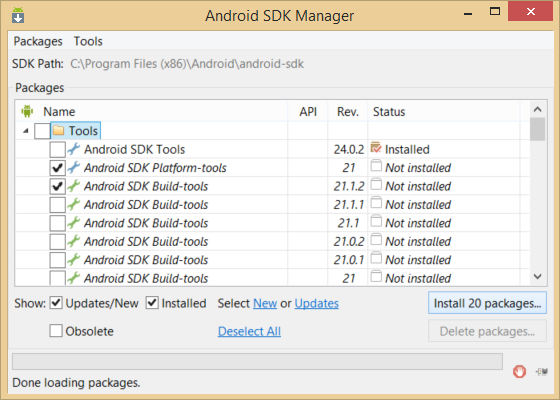
- In the Androd SDK Manager, mark “Android SDK Tools” under “Tools”.
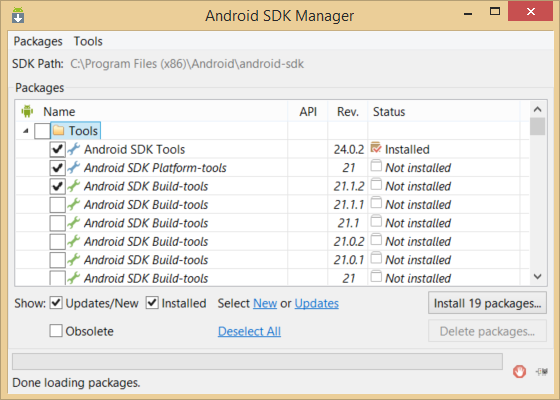
- Scroll down to “Android 2.3.3 (API 10)” and mark “SDK Platform”.

- Scroll down to “Extras” and mark “Google USB Driver”.
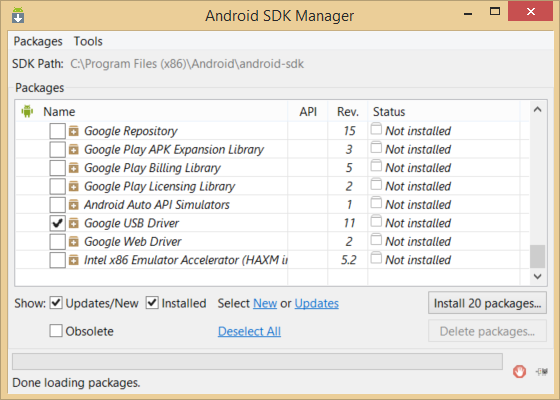
- Click “Install … packages”
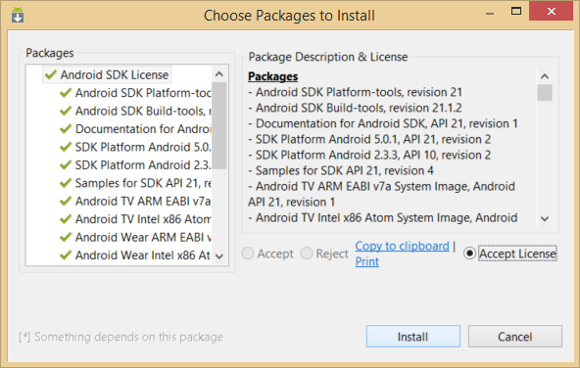
- Mark “Accept License” and click “Install”. This can take quite some time … so be patient!
- When the installation has finished, click “Close” and then close the Android SDK Manager.

- Make sure you have the latest version of the Processing IDE. https://processing.org/download/?processing
- Click the following link to download the latest version of the Processing Android mode. https://github.com/processing/processing-android/releases/download/latest/AndroidMode.zip
- Unzip the file to C:\Users\User\Documents\Processing\modes

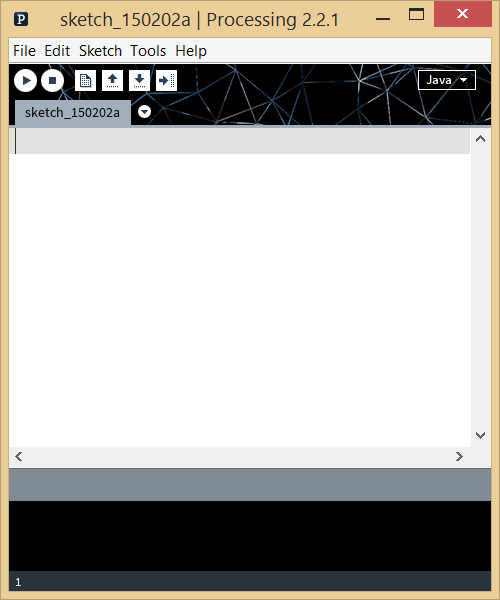
- Open Processing and switch to Android mode from the drop down menu to the right where it now says “Java”.
- The first time you switch to Android mode you need to state the location where you installed the SDK Tools as in step 5.
- When Processing is in Android mode, it should look like this:
